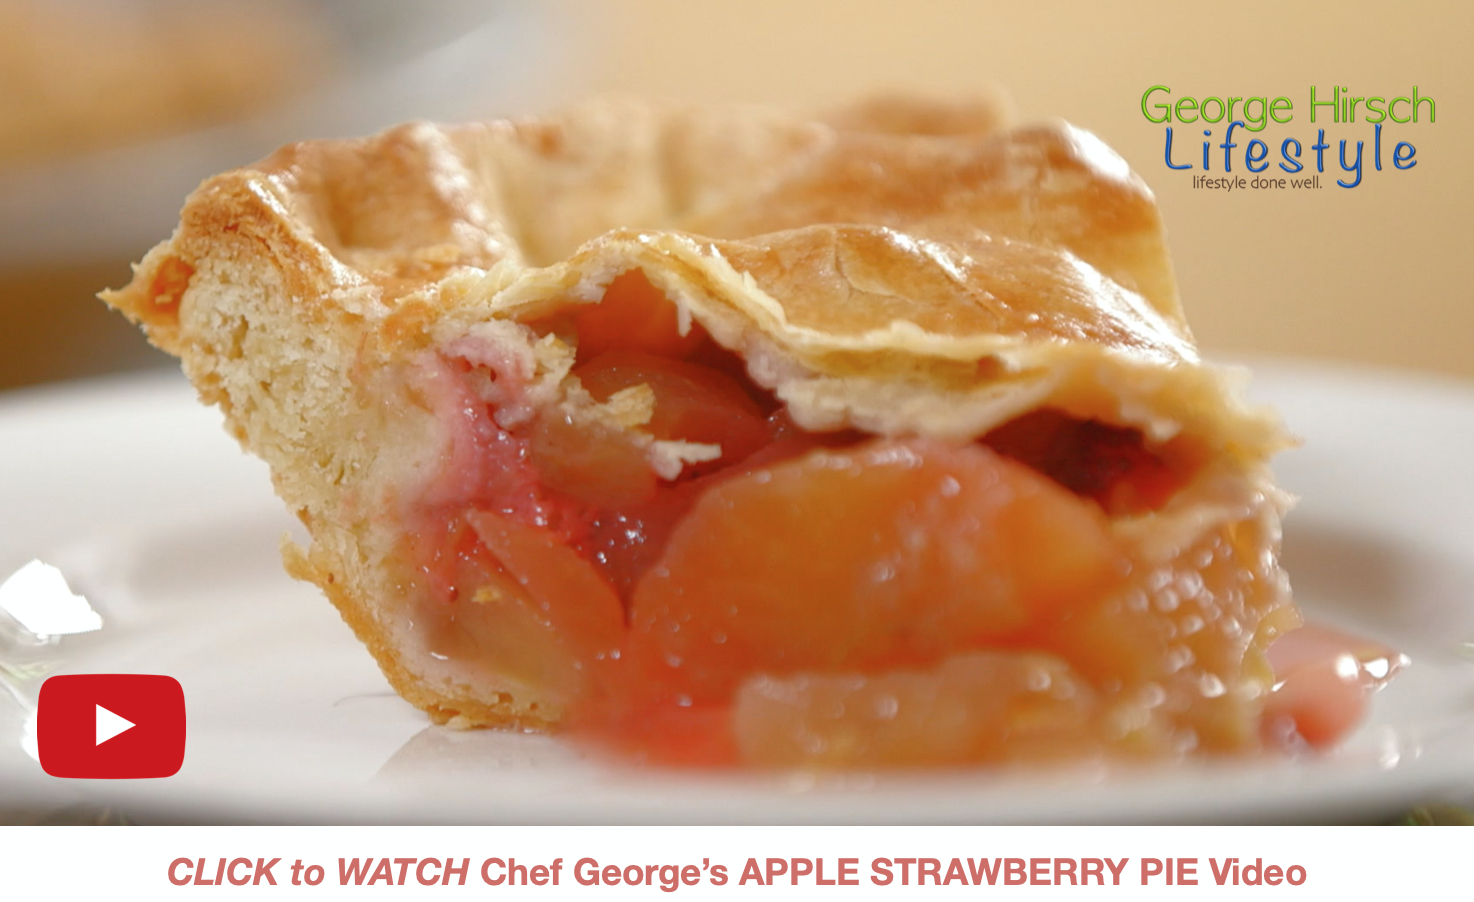
Looking forward to a wedge of mile-high apple pie at your Thanksgiving dinner? Make your own. I have included my winning flaky pie crust recipe in addition to the ultimate traditional apple pie recipe. I'll be using a mix of local tart and sweet apples. I will be making a few apple pies since one is never enough. Enjoy!
Q & A with George:
Why do you consider pies a strong technique of yours?
My mother and grandmother were both excellent bakers. Plus, the early stage of my professional cooking and baking practical experience required baking a pie to perfection. Most European chefs I trained with were not about giving a second chance if it did not come out well.
Why are people hesitant to make their own pies?
Baking can be intimidating. If someone has experience with set baking skills, sometimes it just comes down to the available time one has to spend in the kitchen. Mixing the dough, allowing it to rest, preparing the filling, assembly, and baking takes time. And the hardest part of all is the after-baking waiting, letting the pie cool down so the filling sets. Have you ever stared at a well-baked pie and not wanted to dig in?
Premade pie crust versus homemade pie crust?
Acceptable to use a premade crust for efficiency on time and for someone who is just beginning to bake because it’s a good way to gain pie-making experience. However, I encourage giving from scratch a try, as making a pie crust is easy and should be attempted. The worst thing that can happen—is you eat and start again.
What is the most common mistake people make when making a pie?
–Underbaking the bottom crust. 99% of pies have a bottom crust that is not baked.
–Tough and chewy pie crust.
–Runny fillings.
What are the must-have tools for pie baking?
A good rolling stick, a heavy-gauge metal pie pan—and I love rolling dough on marble to keep the crust cold.
as featured in Celebrate Magazine
Apple Pie Recipe
Makes 8 servings
chefgeorgehirsch.com | George Hirsch Lifestyle
1 recipe pastry for George’s Favorite Pie Crust, see below
1/2 cup unsalted butter
3 Tablespoons all-purpose flour
1/4 cup water
1 teaspoon vanilla
1/2 cup white sugar
1/2 cup packed brown sugar
6 medium-sized Granny Smith apples; peeled, cored, and sliced
2 medium-size Rome, gala, or a sweeter apple; peeled, cored, and sliced
1 teaspoon cinnamon
pinch of fresh ground nutmeg
Preheat oven to 425 degrees.
Melt the butter in a saucepan. Stir in flour to form a paste. Add water, white sugar, and brown sugar, and bring to a boil. Reduce temperature and let simmer for two minutes—cool and mix with sliced apples.
Place the bottom crust in your pan. Fill with apples, and mound slightly. Cover with a top crust or a lattice crust. To add a richer color to a double-crust or lattice-topped pie, brush the top crust with an egg wash (1 egg beaten with a teaspoon of water) before baking.
Bake for 15 minutes at 425, and reduce temperature to 350 degrees. Continue baking for 35 to 45 minutes, until apples are soft.
For a nice shine, mix a quarter cup of light corn syrup with a couple of Tablespoons of water as soon as the pie is removed from the oven. Boil for 3-5 minutes. When the pie is done, brush the thinned syrup over the top of the crust.
Optional:
Add 1/4 cup of plump raisins, cranberries, or walnuts to the apple filling.
*George’s Favorite Pie Crust
Makes 1 pie or 2 bottom crusts
1/2 cup butter
1 1/2 cups all-purpose flour
1/2 teaspoon salt
1 teaspoon sugar
1 teaspoon baking powder
1/2 cup cold milk
Chill the butter and milk before you begin. Chilling keeps the pie crust flaky and prevents the fat pieces from melting into the flour and becoming tough.
Next, mix the flour, salt, sugar, and baking powder. Cut the chilled butter into the dry mixture using a pastry cutter, or pinch the fat into the mixture with your hands. The mixture should have fat lumps no larger than the size of raisins. If making pie crust in the summertime, cool off the flour by measuring your flour and refrigerate it one hour before making the dough.
Pour in the chilled liquid until the milk is absorbed, mixing gently with a fork. You should be able to press the dough into a ball gently. Mix the dough as little as possible: you don't want to cream the butter's lumps into the flour. A crust without lumps of butter will be dense, not flaky. Note that humidity will affect how much liquid the flour will absorb.
Split the dough into two parts: 2/3 and 1/3 (2/3 for the bottom and 1/3 for the top). Pat them into balls, flatten them slightly, and wrap them in plastic. The dough needs to rest in the refrigerator for at least 30 minutes. Overnight is preferred. Chilling lets the flour absorb all of the liquid, lets the dough relax, becomes more elastic, and keeps the fat in separate pieces, giving the crust a lighter texture when it is baked.


